
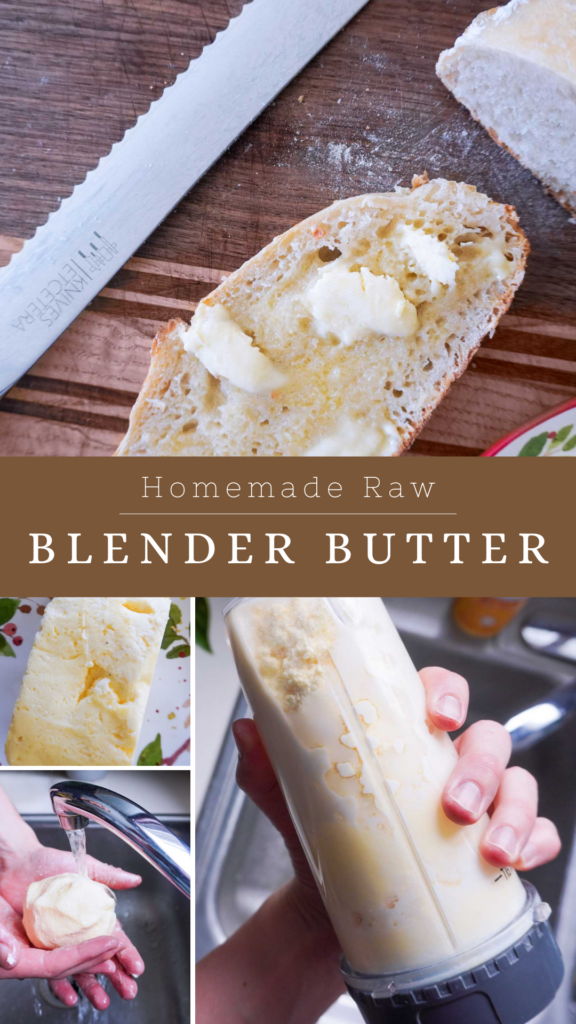
How To Make Homemade Raw Butter In The Blender
I have been on a quest to start making as many things at home as I can. Not only does homemade taste better, but it’s often more cost effective. There is also a great sense of accomplishment as you become more self sufficient! Raw butter is one of those things that you can start making at home, and it might shock you just how easy it is. You don’t even need a butter churn. All you will need is a blender, and fresh cream for this fast recipe.
This post contains affiliate links. As an amazon affiliate, I make a commission on qualifying purchases at no extra cost to you.
The Basics of Making Raw Butter In The Blender
Butter is essentially cream that has been churned enough that the fat separates from the buttermilk. In a blender, it’s a really fast process! Generally a pint of cream will make about 8 ounces of butter, although you can make butter from however much cream that you have. Just make sure that you have enough cream to cover the blender blades, and that you also don’t fill your blender too full. You can make unsalted butter which is just cream, or to make salted butter you can mix in salt at the end.
A Case For Homemade Butter
Okay, even if it’s easy, why should you make your own butter? The grocery store is so convenient! I hear you. And our house goes through our fair share of store-bought butter. There are certainly better brands of butter if you are buying them at the store (always look for grass-fed butter!!), but many of the butters that you buy are packed with preservatives and additives. They may have artificial ingredients and have most likely been ultra-pasteurized, destroying the beneficial nutrients.

Homemade butter in the blender is so delicious, creamy, and is completely natural. Especially if you start with fresh cream from a local source, you can’t beat it!
What Is The Best Cream To Make Butter With?
You can use any cream to make butter, as long as it is at least 35 percent fat. Even if you can’t find that information on the label, heavy cream and heavy whipping cream should both have plenty of fat. Good butter comes from good cream, so look for high-quality cream, organic if possible. For raw milk butter you need to start with raw cream, preferably fresh cream from a local farm (or your own cow, if you are lucky!). Starting with raw cream will ensure that all the good nutrients and enzymes are intact. Raw cream / butter has incredible health benefits! I’ve got a whole post about the benefits of raw milk if you are interested in learning more.
Tools You Will Need:
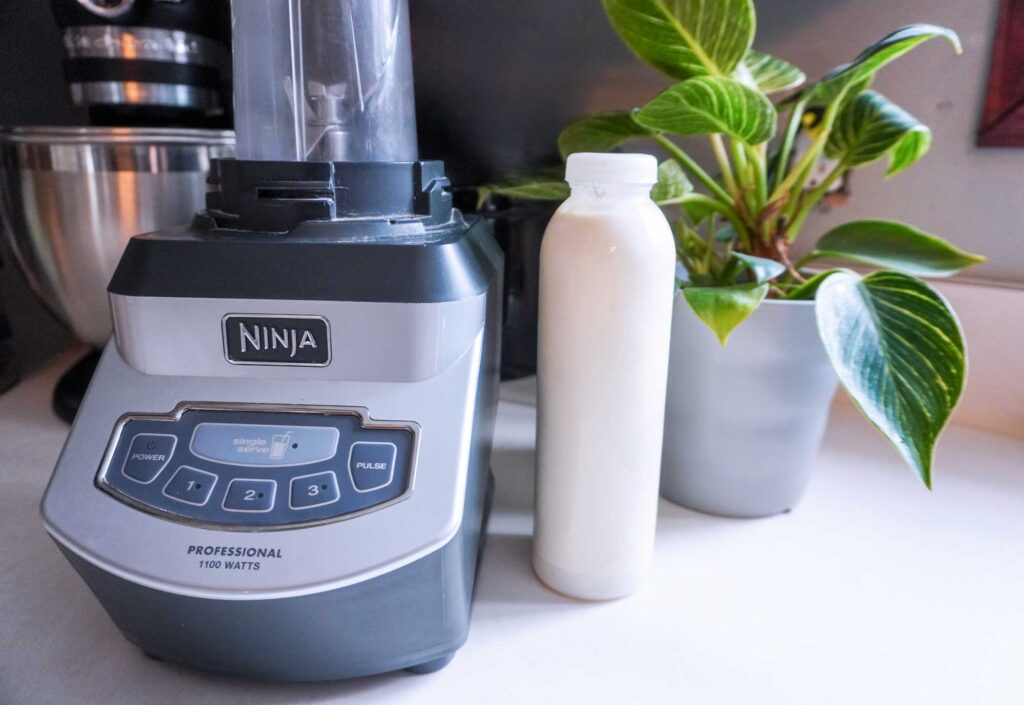
- Blender: I have a ninja blender, but any blender will do the job.
- Glass Bowl
- Parchment paper
- Fine mesh strainer (optional, for buttermilk)
- Glass mason jar (optional, for buttermilk)
How to Make Raw Butter In The Blender
A blender makes butter from cream really quickly. How quickly will depend on the power of your blender, and the temperature of the cream when you begin. Some people say to let the cream come to room temperature before you begin, but I’ve never had any issues starting with cold cream. The process should take anywhere between 2 to 5 minutes to make butter in your blender.
Step 1: Add Cream to Your Blender
Pour raw cream (or whatever cream you are using) directly into the blender. Seal the lid on tight.

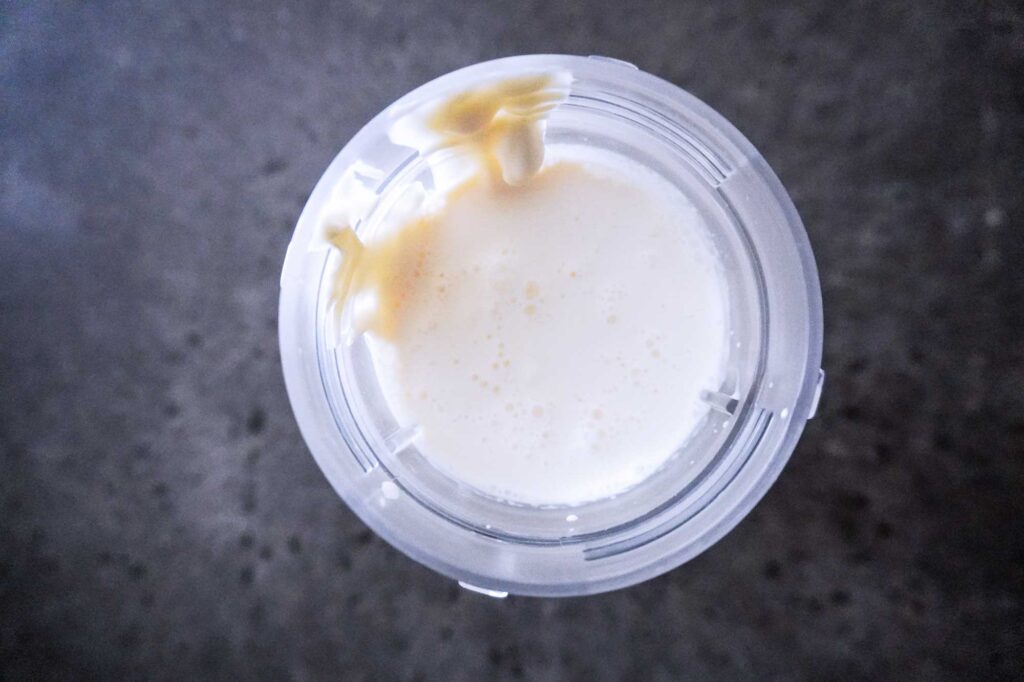
Step 2: Blend on High Speed
Turn your blender onto high speed. After a little while, the cream is going to get thicker and turn into whipped cream. Keep blending past the whipped cream stage, and eventually the watery buttermilk will separate and you will start to see butter chunks forming and sticking to the sides of the blender. When you see bright yellow globs, that’s a good sign that you are done!

Step 3: Pour Off Buttermilk
Once you see large yellow globs of butter forming, turn off the blender. Pour out the excess butter milk (save it if you want, for future recipes). Scoop the butter out of the blender, and put it in a glass bowl.
Step 4: Rinse & Squeeze Butter
It’s time to get your hands dirty! Turn your faucet on your sink to cold. The colder the water, the easier this step will be. Using your hands, rinse the butter under the cold water, squeezing any remaining buttermilk out.

Step 5: Add Salt
If you prefer unsalted butter, you are done! If you like your butter salted, place your butter ball back in the bowl. Add a dash of salt to your liking, and mix with a spoon. Taste it and continue adding until you like the flavor.
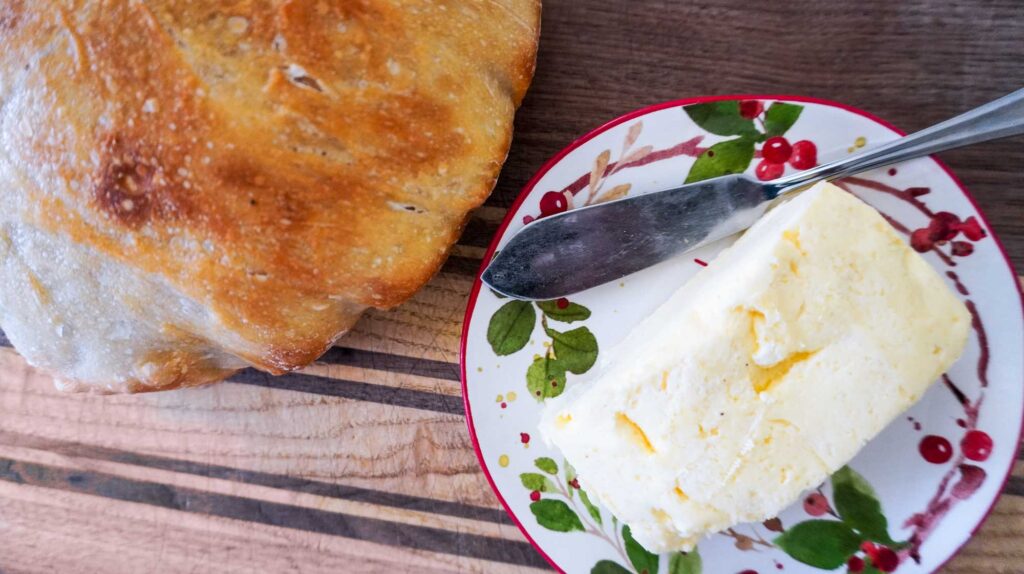
Step 6: Store & Enjoy!
That’s it, you just made fresh butter! The texture of fresh homemade butter is really soft and creamy. If you prefer soft butter, keep it in an airtight container on the counter for up to a week. You can also wrap your raw butter in parchment paper and keep it in the fridge for 2-3 weeks. It will firm up in the fridge.

Optional: Strain Buttermilk & store
If you plan on keeping the buttermilk to use in future recipes, you may need to strain out small pieces of butter remaining. Use a fine mesh strainer to remove the pieces of butter, and store buttermilk in the fridge in a glass jar. Raw buttermilk should last about a week in the fridge.
Other Ways to Make Homemade Butter
If you don’t have a blender, no worries because there are many different ways to make butter at home. You can also use a hand mixer, stand mixer, or food processor. The process is the same, the only thing that may vary is the amount of time that it takes to make butter. You can even make butter by putting cream in a jar and shaking it (for a very long long time), but hey it works.
Is It Actually Cheaper To Make Your Own Butter?
That depends. If you have a good source of raw milk and can skim the cream off the top, then making your own butter is definitely cheaper. If you are purchasing raw cream from a local farm, it’s probably a toss up and comparable to buying grass-fed butter at your local grocery store. I enjoy making my own butter because I want butter with all the nutrients found in raw cream, and I think that homemade butter tastes so much better!

How Do I Find Local Cream?
A great place to start when looking for a local farm, is to use this website: raw milk finder. You can put in your zip code and it will show you farms in your area. I pickup fresh milk and cream weekly, and it has been a game changer for our family!
What Do I Use The Buttermilk For?
If you started with raw cream, then the buttermilk is already “cultured” (or soured) and is ready to use in recipes. Put it in the fridge in a glass mason jar until you are ready to use it. Raw buttermilk should last up to two weeks in the fridge. However if you started with pasteurized cream from the grocery store, then the buttermilk is not cultured. You will have to add in cultures and allow them time to activate. You can purchase cultures for this, or you can add kefir with live cultures to your buttermilk which will also work.

Buttermilk is delicious in pancakes, biscuits, or you can use it to marinate chicken. Some people even drink it plain!
Troubleshooting Homemade Butter In The Blender
- If you find that your butter is going bad quickly, it’s probably because you didn’t rinse all of the excess water / buttermilk out of your butter. It makes a huge difference to get all of that liquid out before you store it.
- If your blender stalls out before the butter separates, open it and stir / shake the contents to re-distribute them. Then try again until the blades re engage and the butter starts to form globs.
How Long Does Homemade Butter Last?
There are two factors that affect shelf life. First, how well you extract all of the excess buttermilk. If you don’t get out all of the buttermilk, your butter will not keep as long. The other factor is how you choose to store it. If you keep it at room temperature, it will last about a week. In the fridge, wrapped in parchment paper or an airtight container it will be good for a few weeks. You can also wrap it in plastic wrap and store it for longer in the freezer.
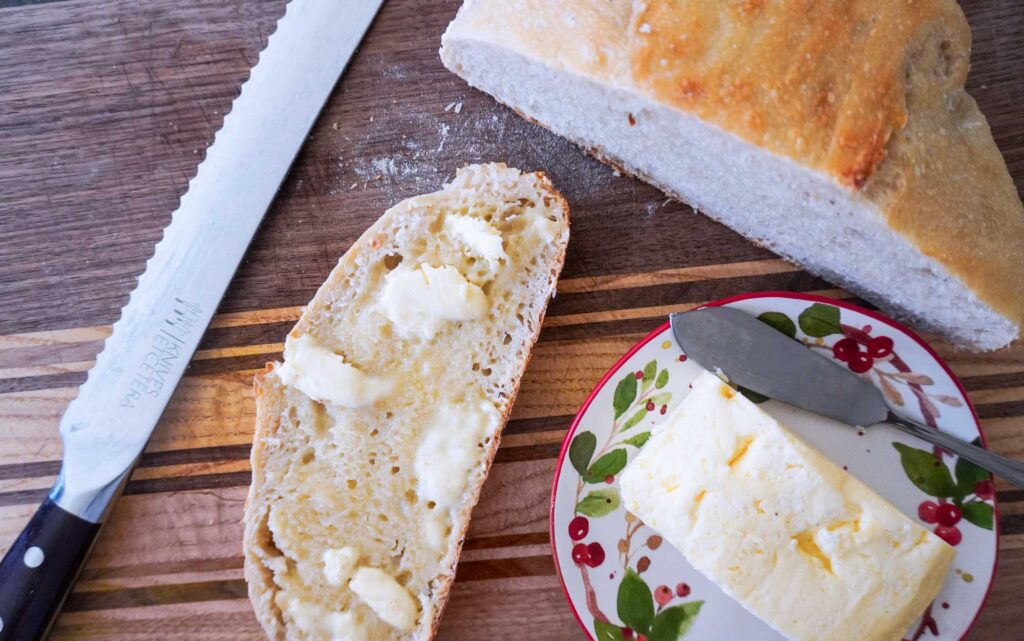
What Can I Use Homemade Butter For?
You simply can’t beat homemade creamy butter on a piece of sourdough bread, especially when that sourdough bread is warm right out of the oven. You can use your homemade butter anywhere that you would use butter! I use my homemade butter in recipes, as a cooking oil, or spread on dates with a sprinkle of unrefined mineral salt (the most delicious snack!)
Doesn’t Butter Give You Heart Disease?
To give you a short answer, no. But I’m not a doctor or a scientist, so let me just give you a few articles that you can read if you are interested in learning about how butter is actually really good for you. In fact, raw butter might be considered a superfood!
The Diet-Heart Myth: Cholesterol and Saturated Fat Are Not the Enemy
Grass-Fed Butter: 7 Benefits that May Surprise You

Homemade Raw Butter In The Blender
Equipment
- 1 Blender
- Parchment Paper
- 1 Glass Bowl
- 1 Fine mesh strainer optional
- 1 Glass mason jar optional
Ingredients
- 1 pint Raw Cream Or heavy whipping cream
- 1 tsp Unrefined mineral salt optional
Instructions
- Add cream directly into the blender cup. Seal the lid on tight.
- Blend the cream on high. Keep blending past the whipped cream stage, and eventually the watery buttermilk will separate and you will start to see butter chunks forming and sticking to the sides of the blender. When you see bright yellow globs, that's a good sign that you are done!
- Once you start to see yellow globs of butter forming, turn off the blender.
- Pour off the excess buttermilk. Save it for future recipes! Scoop the butter out of the blender, and put it in a glass bowl.
- Using your hands, rinse and squeeze the butter under COLD water in the sink. Squeeze out all of the buttermilk.
- Place the butter back in the bowl, and add salt if desired. Taste it and continue adding until you like the flavor.
- Store and Enjoy! If you like softer butter, you can keep it in an airtight container on the counter for up to a week. If you want your butter to last longer, wrap it in parchment paper and keep it in the fridge for 2-3 weeks.
Notes
- If you find that your butter is going bad quickly, it’s probably because you didn’t rinse all of the excess water / buttermilk out of your butter. It makes a huge difference to get all of that liquid out before you store it.
- If your blender stalls out before the butter separates, open it and stir / shake the contents to re-distribute them. Then try again until the blades re engage and the butter starts to form globs.
Conclusion
There you have it, making homemade raw butter in the blender is incredibly easy. I hope that you are consuming butter on a regular basis (I eat it every day!), and that you find this recipe helpful for making your own butter at home. With a blender, and fresh cream, you can enjoy homemade delicious butter in just a few minutes.


One Comment