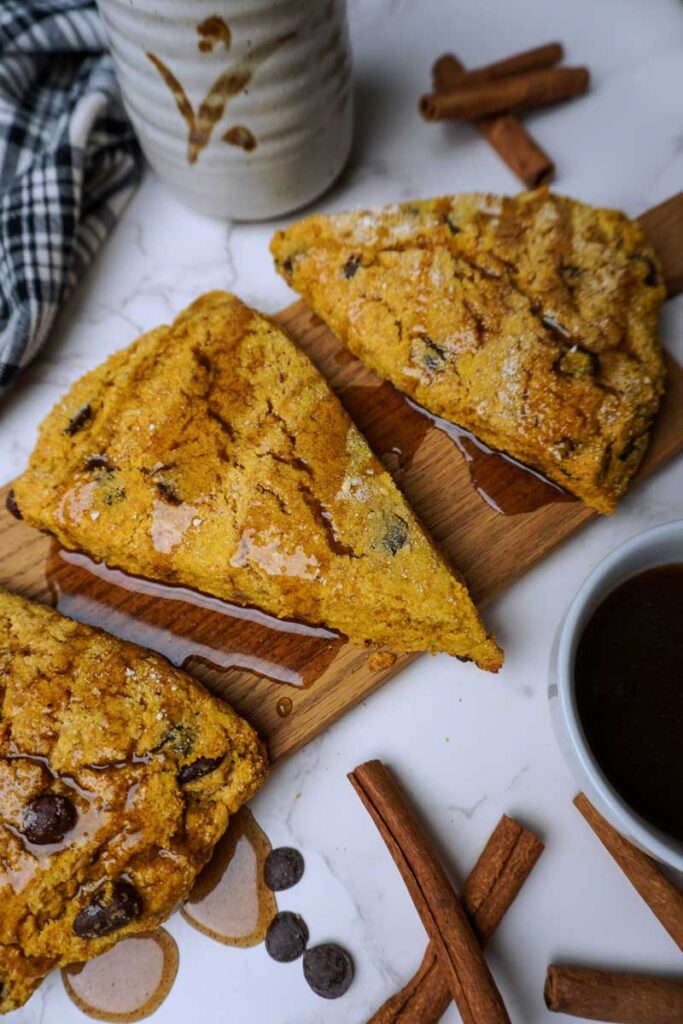
Fresh Milled Pumpkin Scones with Vanilla Maple Glaze
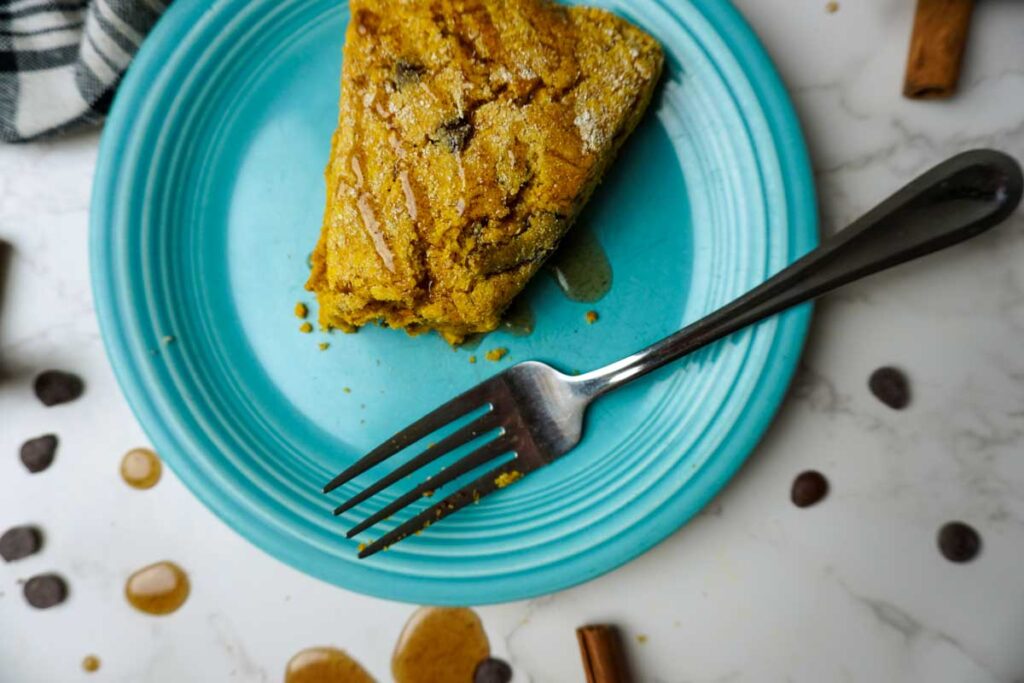
Fresh milled pumpkin scones are made with sourdough discard, and are the perfect treat to enjoy with your coffee this fall season! They are lightly sweetened, perfectly spiced, and have a delightful vanilla maple glaze. They come together really quickly for brunch or an afternoon treat.
This post may contain affiliate links. As an amazon affiliate, I may earn a small commission from qualifying purchases at no extra cost to you. If you have questions, please read my full privacy policy.
Looking for more fresh milled treats? Try these fresh milled cinnamon rolls next!
Reasons to Love Fresh Milled Pumpkin Scones
Soft and tender. These scones have a deliciously tender texture without being dry or crumbly. The glaze adds the perfect amount of moisture that you won’t be able to resist.
Full of pumpkin flavor. It’s okay to be basic. Whether it’s pumpkin season or not, pumpkin and warm fall spices make these the perfect cozy treat for a crisp autumn morning, or any regular afternoon snack with a hot cup of coffee.
Chocolate chips in every bite. Because pumpkin and chocolate are a match made in heaven. Can you have one without the other?
Made with freshly milled flour. Fresh milled flour adds a subtle nuttiness and rich, wholesome flavor that just works so well.
Vanilla maple glaze. The simple glaze is made with pure maple syrup, cinnamon and vanilla bean, adding just the right amount of sweet.
Easy to make. These fresh milled scones come together super quickly and don’t require any complicated techniques. From start to finish you can be enjoying a fresh baked scone in less than an hour!
Perfect with a cup of coffee. They’re just as good for a slow weekend breakfast as they are for an afternoon treat. These won’t last long, I promise.
Don’t waste sourdough discard! This recipe is a great way to use any extra sourdough discard you might have.

Why Bake Scones with Fresh Milled Flour?
If you’ve never tried making scones with freshly milled flour, this is a great recipe to start with! The primary reason that I bake with fresh milled flour is for the health benefits. Anytime that wheat berries are milled into flour, they start to lose their nutrition rapidly. After just 24 hours, up to 45% of the nutrients have been lost, and after 72 hours nearly 90%! Baking with flour right after it’s been milled is the best way to ensure that all the vitamins and nutrients found naturally in wheat berries make it into your baked goods.
Fresh milled flour also brings a really great depth of flavor to baked goods that pairs especially well with pumpkin, warm spices, chocolate, and maple.
I love using freshly milled flour in scones because you maintain the nutrients found in the whole grain while still ending up with a tender, delicious pastry. The key is finding the right balance of flour and moisture so your scones stay soft instead of becoming heavy or dry.
Fresh milled flour also makes baking feel a little more special. There’s something satisfying about starting with whole wheat berries, milling them right before you bake, and turning them into something as delicious as a warm pumpkin scone. If you’re already milling your own flour, this recipe is an easy and delicious way to use it!
Ingredients in Fresh Milled Flour Pumpkin Scones
For The Scones
Fresh milled soft white wheat – soft white is a great choice for these scones for a light and fluffy crumb. For the best nutrition, mill the flour right before baking.
Organic cane sugar – these scones are a sweet treat, with just a little bit of real cane sugar. If I am going to use refined sugar in my recipes, I prefer to use organic, pure cane sugar to avoid unwanted pesticides.
Cold butter – Keeping the butter extra cold helps the scones to have the perfect texture.
Sourdough starter discard (fed works too)
Egg – You only need one whole egg for this recipe. Pasture raised eggs are the best!
salt, baking powder, & vanilla extract
Dark chocolate chips – I love to use the organic dark chocolate chips from Azure Standard, they are sweetened with coconut sugar and are amazing.
Pumpkin puree – not to be confused with pumpkin pie filling.
Cinnamon – I love to use a high quality cinnamon in my recipes, ceylon cinnamon is my favorite.
For the Maple Vanilla Glaze
Real maple syrup – using pure maple syrup will result in a delicious maple flavor that pairs perfectly with the pumpkin flavor of the scones.
Vanilla bean paste – I’ve found that using paste from real vanilla bean makes the flavor amazing. You can also use vanilla extract, but add it in after the sauce has cooled to maintain the strong vanilla flavor.
Cinnamon – more cinnamon in the glaze is a tasty addition.
Butter
Cornstarch + water- just a little bit of cornstarch will help the glaze to thicken slightly and hold it’s form.
Other Tools You Might Need
- Flour mill – I have absolutely loved my mockmill 100.
- Large bowl & smaller bowl
- Fork or pastry cutter
- Cookie sheet
- Parchment paper
- Bench scraper or sharp knife
- Measuring cups and spoons
- Small saucepan
- Whisk
How To Make the Best Fresh Milled Flour Pumpkin Scones With Sourdough Discard
Ready to enjoy a hot pumpkin scone? Let’s get started.
Make The Scones
Step 1: Mill your soft white wheat berries, and prepare a baking sheet with parchment paper.
Step 2: In a large bowl, combine all of the dry ingredients: flour, sugar, salt, baking powder, and cinnamon.
Step 3: Slice the butter into large chunks and add it to the dry ingredients. Using a fork or a pastry cutter, cut the butter into the flour mixture until it is in pea-size and incorporated.
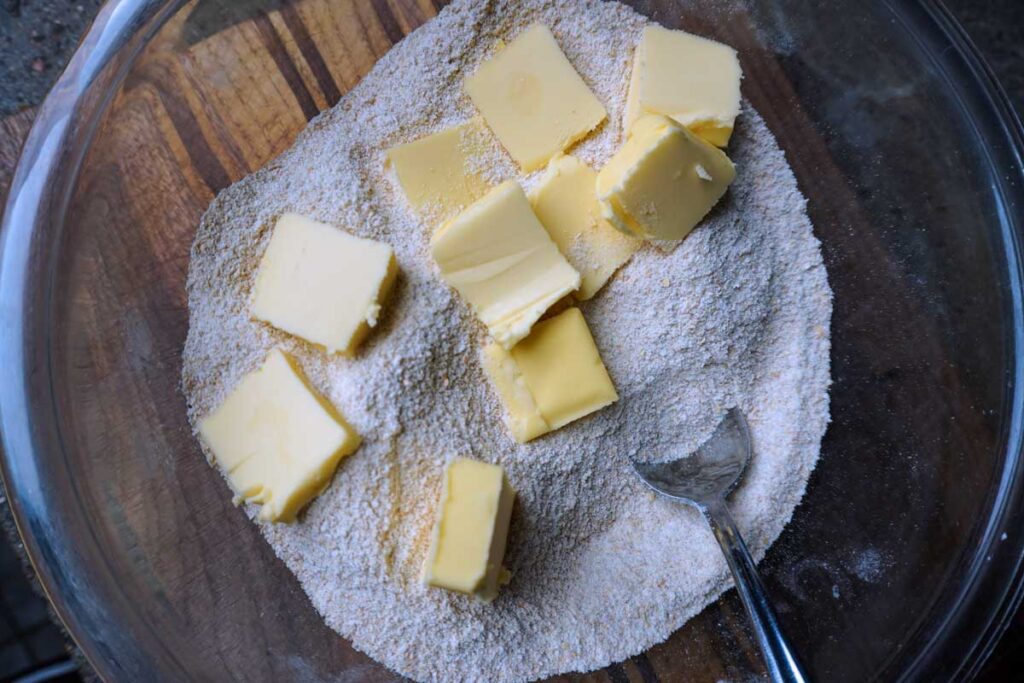
Step 4: Add the chocolate chips and gently mix to combine. Set aside.
Step 5: In a separate smaller bowl, combine the pumpkin, egg, sourdough discard, and vanilla extract. Whisk together until fully combined.
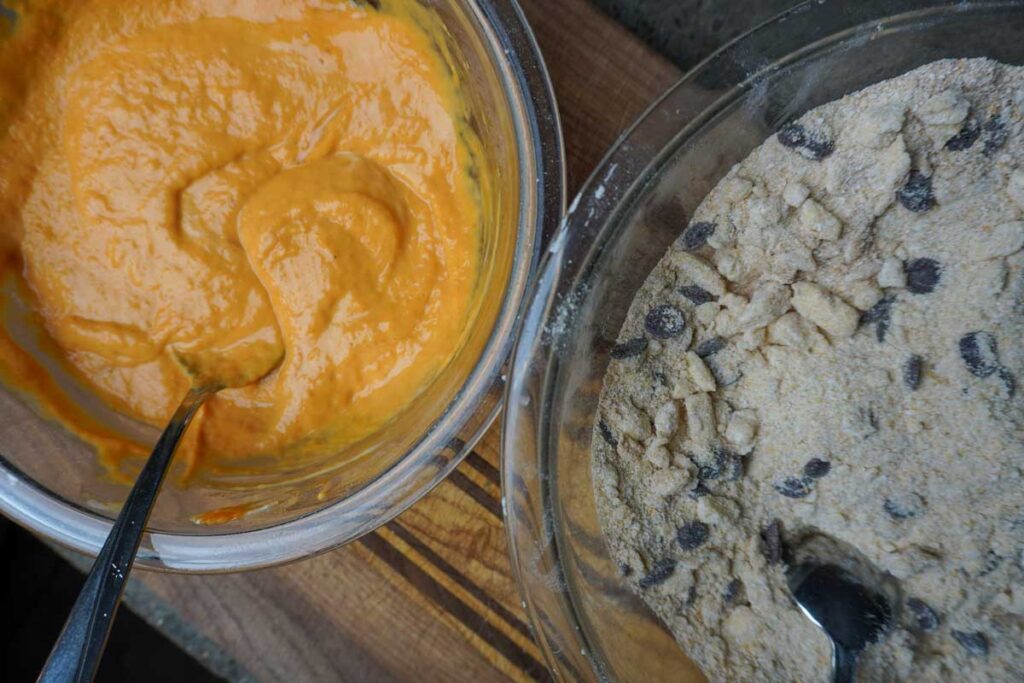
Step 6: Gently add the wet ingredients to dry ingredients until just combined. Try not to overmix. Don’t worry if the dough is sticky – it should be! Resist the urge to add more flour.
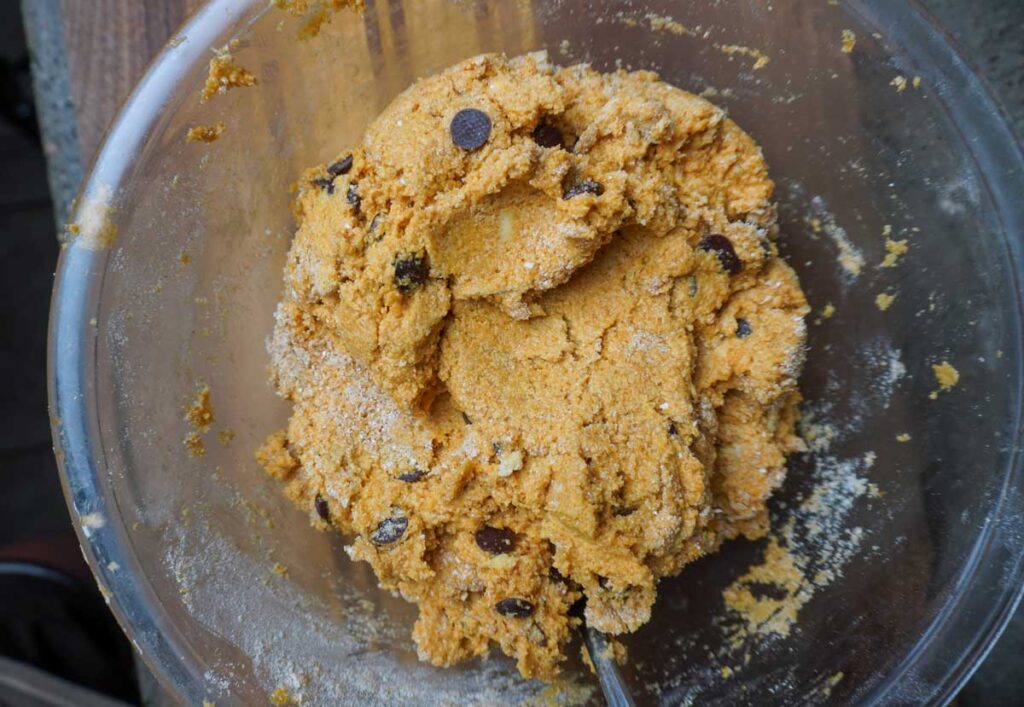
Step 7: Lightly flour a work surface, and turn the dough out. Gently knead the dough just until you can shape it into a large ball.
Step 8: Using your hands, gently press the dough out into a large circle, about 8 inches in diameter.
Step 9: Use a bench scraper, or a sharp knife to slice the scones just like a pizza. 8 slices is perfect.
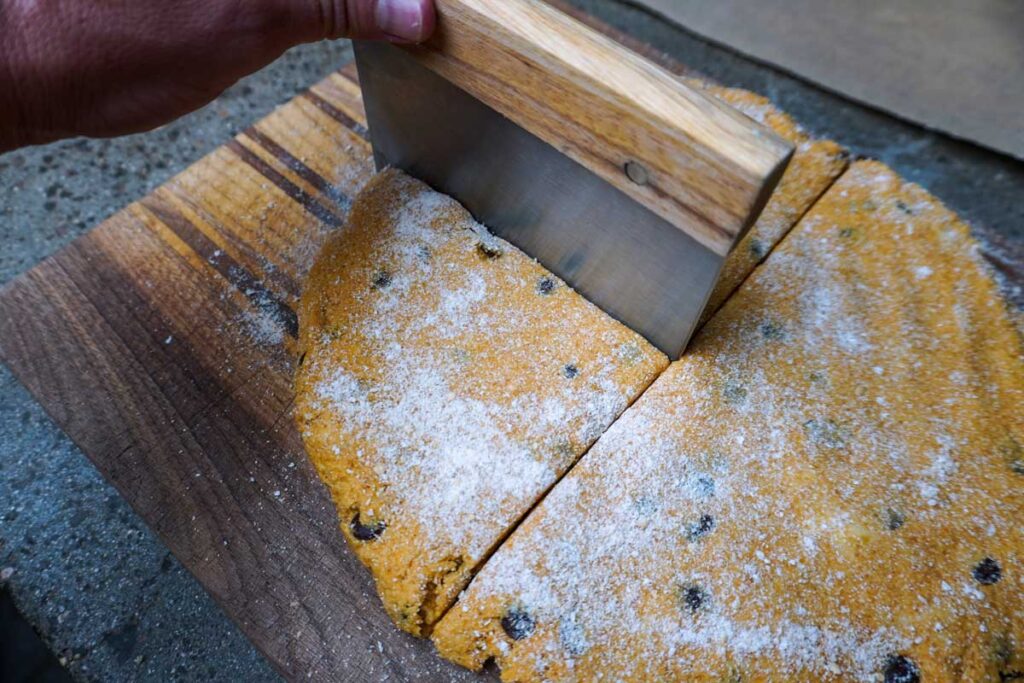
Step 10: Place the scones on the prepared baking sheet, giving them enough space in-between so that they can cook evenly. At least 2 inches apart is good.
Step 11: Place the scones in the freezer for about 10 minutes while you preheat the oven to 375.
Step 12: Once the oven is preheated, move the scones directly from the freezer to the oven and bake for 22-24 minutes. The scones are done when they are just turning golden brown, and a toothpick inserted into the middle comes out clean.
Make the Glaze
After the scones are done baking, allow them to cool on the baking sheet while you prepare the glaze.
Step 1: whisk the cornstarch and water together in a small bowl until there are no clumps remaining. Set aside.
Step 2: In a small saucepan over medium heat, combine maple syrup, butter, vanilla bean paste, and cinnamon.
Step 3: Bring the sauce to a boil, and reduce the heat. Carefully whisk in the cornstarch mixture.
Step 4: Simmer for 1-2 minutes, whisking continually.
Step 5: Remove the sauce from the heat, and allow it to cool for 5-7 minutes. It will continue to thicken as it cools.
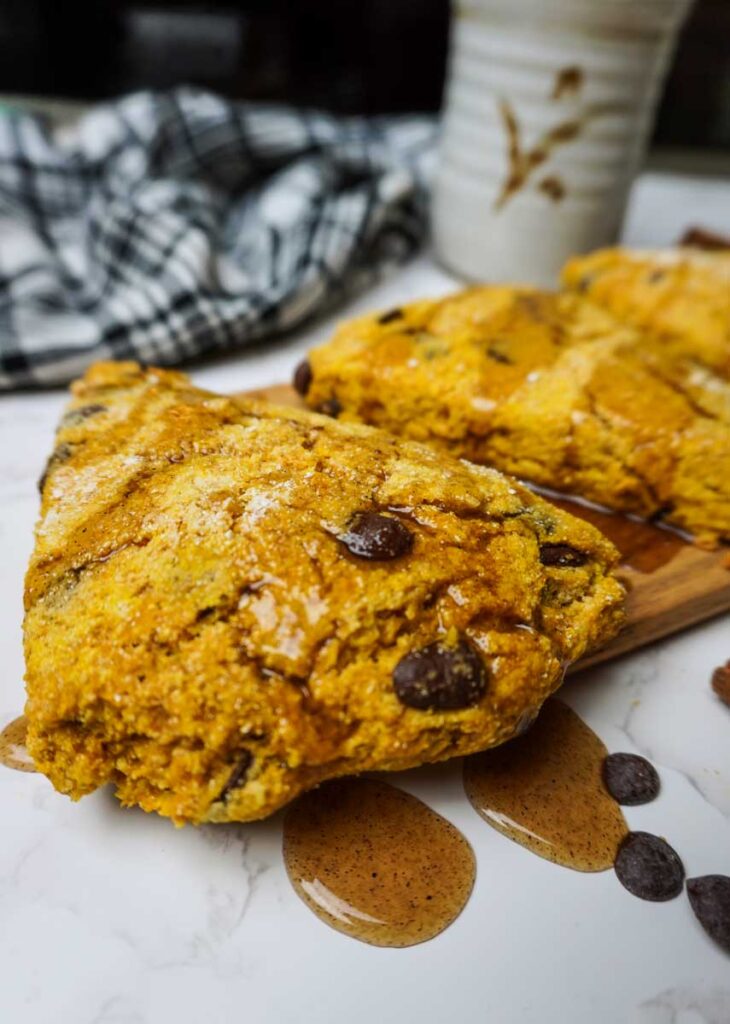
Step 6: Once the sauce has thickened slightly, use a large spoon to zig-zag the glaze over the scones.
Enjoy the scones warm!

Tips for Making Perfect Fresh Milled Scones
Scones don’t have to be complicated, but a few simple tricks will help you get that tender, soft texture instead of a dry or tough scone.
Keep the Butter Cold
Cold butter is one of the keys to tender, flaky scones. When the cold butter hits the heat of the oven, it creates little pockets of steam that help give the scones their texture. I like to work the butter into the flour fairly quickly so it doesn’t have a chance to warm up too much. Freezing the scones for 10 minutes prior to baking also helps.
Don’t Overwork the Dough
Once you add the wet ingredients, mix just until the dough comes together. It’s okay if there are still a few rough spots. Overmixing develops more gluten, which can leave you with tough, dense scones instead of soft and tender ones.
Don’t Add Too Much Flour
This is especially important when baking with fresh milled flour. It can be tempting to keep adding flour when the dough feels a little sticky, but try to resist! A slightly tacky dough will give you a much more tender scone than a dry, heavily floured dough.
When you turn the dough out to shape it into a circle, use a little flour to keep it from sticking.
Give the Dough a Gentle Touch
Scones aren’t like bread—you don’t need to knead them. Gently bring the dough together, pat it into shape, and cut your scones. The less you handle the dough, the more tender your finished scones will be.
Chill Before Baking
If your butter has softened while you’re working with the dough, a quick chill can make a big difference. Once you’ve shaped your scones, place them in the freezer for a few minutes before baking. This helps the butter firm back up and keeps the scones from spreading too much in the oven.
Don’t Overbake
Scones can go from perfectly tender to dry surprisingly quickly. Keep an eye on them toward the end of the baking time. You want the edges and tops to be lightly golden, while the centers should still be soft.
Let Them Cool Before Glazing
As tempting as it is to drizzle that vanilla maple glaze over a piping-hot scone, give them a few minutes to cool first. If they’re too hot, the glaze will melt right off instead of sitting beautifully on top. A slightly warm scone is perfect.
How To Store Fresh Milled Pumpkin Scones
Cool the scones completely and store them in an airtight container. At room temperature they will stay fresh for a few days, but move them to the fridge if you want to keep them longer. You can also freeze scones for up to three months.
More Sourdough Recipes
Hungry for more sourdough? Try these sourdough favorites next:
- high protein sourdough crepes
- lemon blueberry quick bread
- chocolate zucchini muffins
- sourdough discard waffles
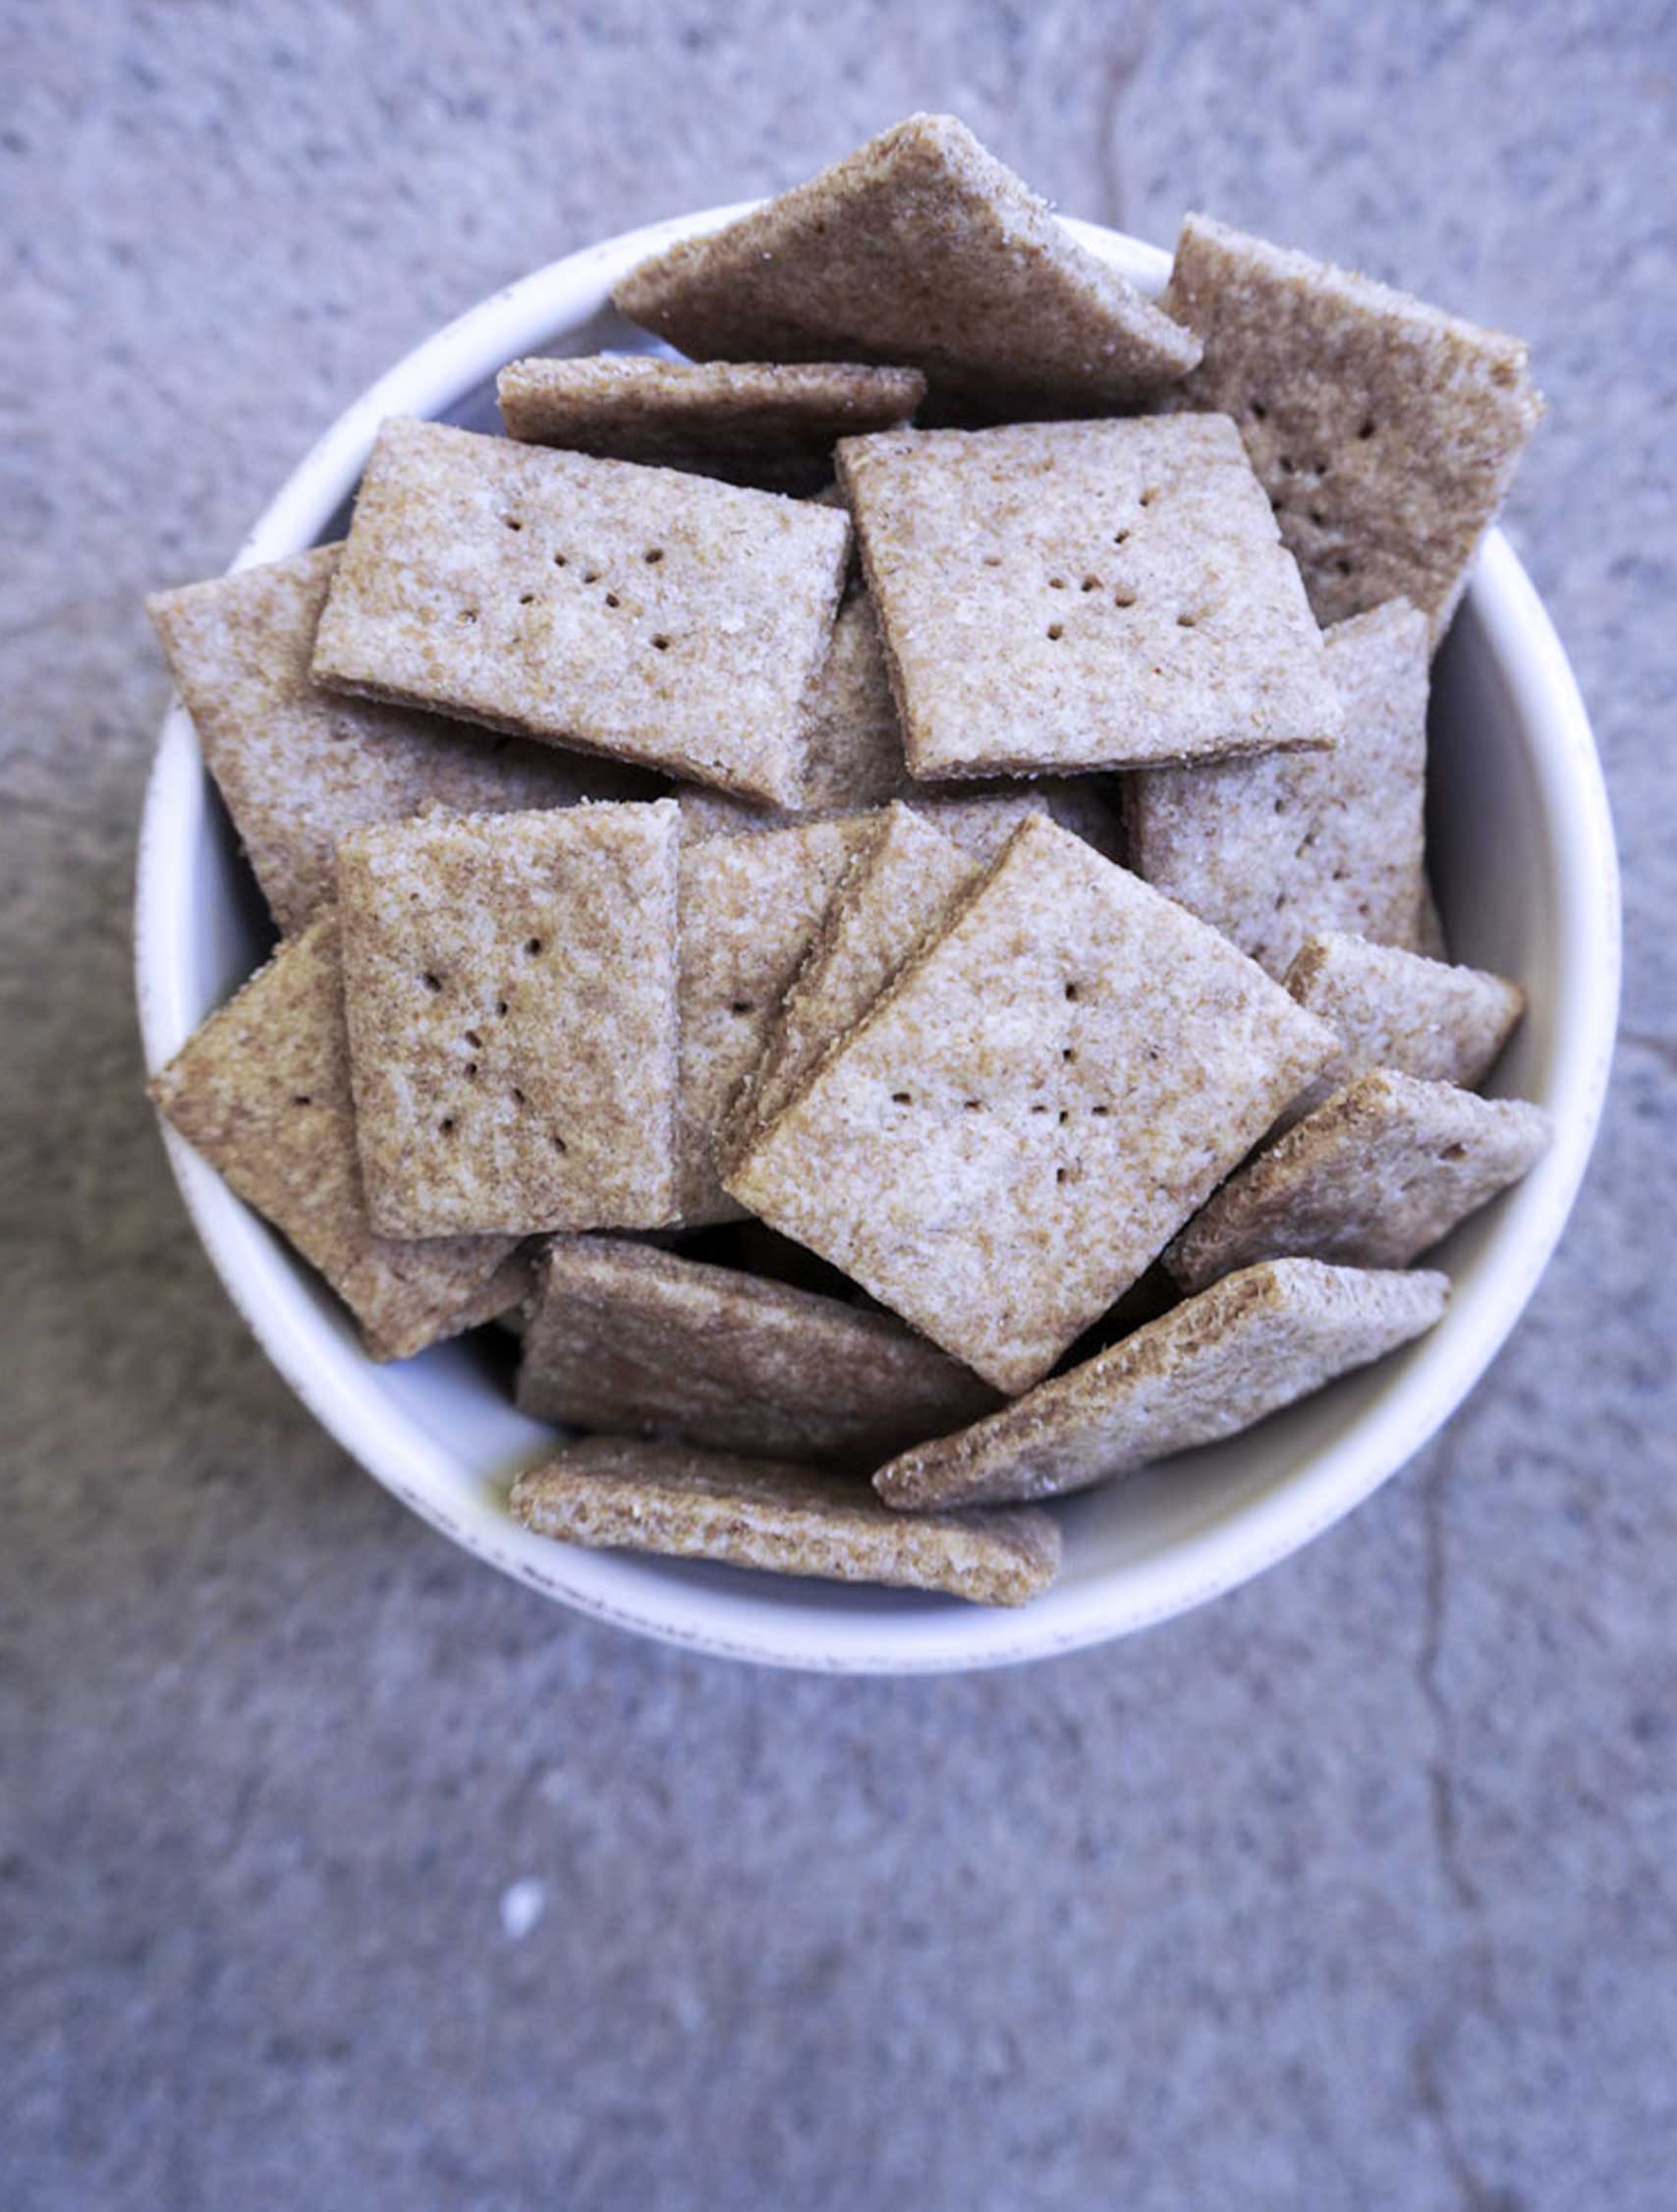
- graham crackers
- sourdough pizza
Frequently Asked Questions

Fresh Milled Pumpkin Scones with Vanilla Maple Glaze
Equipment
- 1 Grain mill
- 1 Large Mixing Bowl
- 1 Medium mixing bowl
- 1 Pastry Cutter or fork
- 1 Bench scraper or sharp knife
- 1 Stainless steel baking sheet
- Parchment Paper
- Measuring cups and spons
- 1 Small saucepan
- 1 Whisk
Ingredients
For the Scones
- 2 1/2 cups freshly milled flour from soft white wheat berries
- 1/2 cup organic cane sugar
- 1/2 tsp unrefined salt
- 1 tsp baking powder
- 1 tsp cinnamon
- 1/2 cup dark chocolate chips
- 1/2 cup cold butter 1 stick
- 1/2 cup sourdough starter discard
- 1/2 tsp pure vanilla extract
- 1 egg
- 1 cup pumpkin puree
For the Vanilla Maple Glaze
- 1/2 cup pure maple syrup
- 1 tbsp butter
- 1/2 tsp vanilla bean paste
- 1/4 tsp cinnamon
- pinch salt
- 1/2 tsp cornstarch
- 1/2 tsp water
Instructions
Make the Scones
- Mill your wheat berries on your grain mill's finest setting. Prepare a baking sheet with parchment paper.
- In a large mixing bowl, combine all of the dry ingredients: flour, sugar, baking powder, salt, and cinnamon.
- Make sure your butter is cold, and cut it into large chunks into the bowl of dry ingredients.
- Using a pastry cutter or fork, cut the butter into the flour mixture until it is roughly pea sized and incorporated.
- Add the chocolate chips and mix together. Set aside.
- In a medium mixing bowl, combine all of the wet ingredients: pumpkin, egg, sourdough discard, and vanilla extract. Whisk to combine.
- Gently add the wet ingredients to the dry ingredients, mixing until just combined. Be careful not to overmix. The dough should be slightly sticky, resist the urge to add more flour.
- Lightly flour a work surface, and turn the dough out. Gently knead the dough just enough to get it into a ball.
- Use your hands to gently press the scone dough into a large circle, about 8 inches in diameter.
- Use a bench scraper or sharp knife to slice the scones into 8 pieces, like you would slice a pizza.
- Place the scones on the parchment paper-lined baking sheet, about 2 inches apart.
- Place the scones in the freezer while you preheat the oven to 375.
- Once the oven is ready, move the scones directly from the freezer to the oven and bake for 22-24 minutes. The scones are done when they are just turning golden brown and a toothpick inserted into the middle comes out clean.
Make The Glaze
- After the scones are done baking, allow them to cool while you make the glaze. The glaze will hold better when the scones are cooled slightly.
- In a small bowl, whisk together the cornstarch and water until there are no clumps and it has a smooth consistency.
- In a saucepan over medium heat, combine the maple syrup, vanilla bean paste, cinnamon, and butter.
- Bring the mixture to a boil, and whisk in the cornstarch and water mixture.
- Simmer for 1-2 minutes, whisking constantly.
- Remove the sauce from the heat, and allow it to cool for 5-7 minutes. It will thicken as it cools.
- Use a spoon to wave the maple vanilla glaze over the scones in a zig zag pattern.
- Enjoy the scones warm!